Navigation Pages in Next.js
Introduction
In the world of web development, user navigation plays a vital role in creating an intuitive and enjoyable user experience. Next.js, a powerful framework built on top of React, offers an elegant solution for handling page routing and dynamic routes. In this comprehensive guide, we’ll explore the intricacies of routing in Next.js, understand how to create dynamic routes, and discover the art of linking between pages. To solidify our understanding, we’ll walk through a real-world example of page routing in Next.js.
Routing in Next.js
Routing is the backbone of any web application, and Next.js simplifies it with a straightforward approach. Let’s start by understanding how routing works in Next.js.
1. Pages as Routes
In Next.js, each JavaScript file within the pages directory becomes a route in your application. For instance, a contact.js file inside the pages directory creates a /contact route.
2. Nested Routes
You can organize routes hierarchically by creating subdirectories within the pages directory. For example, a blog subdirectory with an index.js file becomes the /blog route, and a post.js file within the blog directory creates the /blog/post route.
3. Dynamic Routes
Dynamic routes are a powerful feature of Next.js, allowing you to create routes that accept parameters. For instance, you can create a dynamic route for user profiles with a pages/profile/[id].js file, where [id] represents the user’s unique identifier.
Creating Dynamic Routes
Dynamic routes are incredibly versatile and allow you to build applications that respond to user interactions or data. Let’s walk through the process of creating dynamic routes in Next.js.
1. Setting Up a Dynamic Route
To set up a dynamic route, create a new JavaScript file in the pages directory and use square brackets to indicate a dynamic parameter. For example, to create a dynamic route for blog posts, you can create a pages/posts/[slug].js file.
2. Accessing Dynamic Parameters
Inside your dynamic route file, you can access the dynamic parameter using the useRouter hook provided by Next.js. Here’s an example of how to access the slug parameter:
import { useRouter } from 'next/router';
function Post() {
const router = useRouter();
const { slug } = router.query;
// Use the slug parameter in your component
return <div>Post with slug: {slug}</div>;
}
export default Post;Code language: HTML, XML (xml)With this setup, visiting /posts/my-first-post will display “Post with slug: my-first-post.”
Linking Between Pages
Linking between pages in a Next.js application is effortless and enhances the user experience. Next.js provides a Link component for this purpose.
1. Importing the Link Component
To use the Link component, you need to import it from next/link:
import Link from 'next/link';Code language: JavaScript (javascript)2. Creating Links
You can create links to other pages by wrapping your content with the Link component. Here’s an example of linking to a blog post using a dynamic route:
<Link href="/posts/my-first-post">
  <a>Read my first post</a>
</Link>Code language: HTML, XML (xml)
By clicking on this link, users will be directed to the dynamic route for the “my-first-post” blog post.
Example of Pages Routing
To illustrate routing in Next.js, let’s walk through an example of creating a simple blog application. We’ll set up routes for the homepage, individual blog posts, and an about page.
1. Creating the Pages
- Inside the
pagesdirectory, create anindex.jsfile for the homepage. - Create a
postsdirectory within thepagesdirectory. - Inside the
postsdirectory, create aindex.jsfile for a blog posts page and a[slug].jsfile for individual blog posts. - Create an
about.jsfile in thepagesdirectory.
2. Setting Up Dynamic Routing
Making Dynamic Routing page for route on page to another page.
import styles from '@/styles/Home.module.css'

function BlogPost() {
  return (
    <div className={styles.main}>
      <h1>This is a Blog Post</h1>
    </div>
  );
}

export default BlogPost;Code language: HTML, XML (xml)
3. Creating Links
In the index.js file for the homepage, you can use the Link component to link to individual blog posts and the about page.
import styles from '@/styles/Home.module.css'
import Link from 'next/link';

export default function Home() {
  return (
    <>
      <div className={styles.main}>
        <h1>Welcome to My Blog</h1>
        <Link href="/posts/BlogPost">
          Read my first post
        </Link>
      </div>
    </>
  )
}
Code language: HTML, XML (xml)
Output :
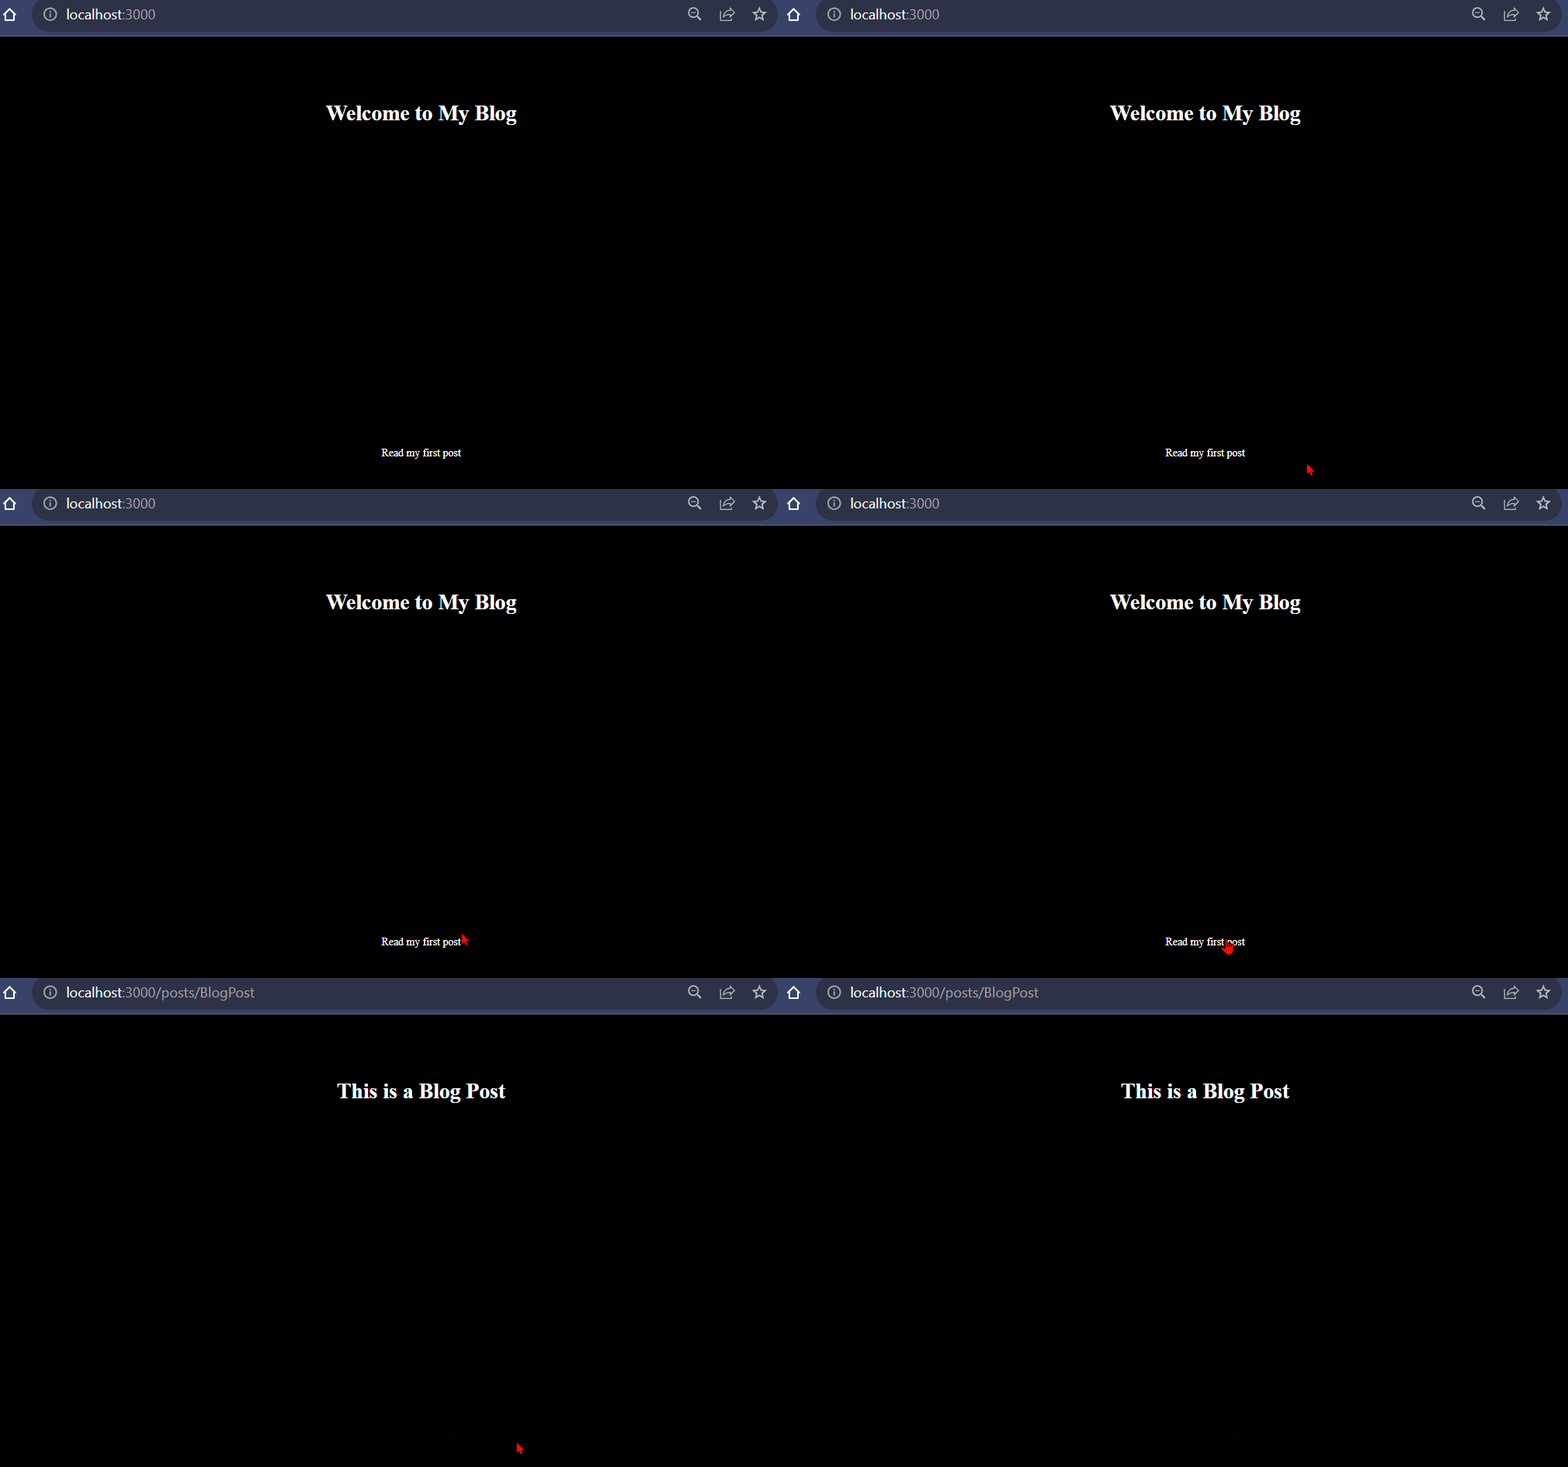
With this setup, you have a functioning blog application with dynamic routing, allowing users to navigate between the homepage, individual blog posts, and the about page seamlessly.
Conclusion
Routing is a fundamental aspect of web development, and Next.js simplifies it with a structured approach. In this guide, we’ve explored routing in Next.js, including pages as routes, nested routes, dynamic routes, and the creation of links. By creating dynamic routes and linking between pages, you can build web applications that respond to user interactions and offer a seamless user experience.
With the real-world example of a blog application, you’ve seen how Next.js handles routing and dynamic parameters. As you continue your Next.js journey, you’ll discover even more possibilities for building interactive and user-friendly web applications. Happy navigating!
Related posts:

Powered by YARPP.