HTML – Embed Multimedia
What is Multimedia?
Multimedia refers to a combination of different types of media, such as text, images, audio, video, and interactive elements, used together to convey information, entertain, or communicate ideas. It’s a way to blend various forms of content into a single presentation or communication, making it more engaging and informative. Multimedia can be found in many aspects of our daily lives, from websites and advertisements to movies and educational materials. Its versatility allows for creative and effective ways to share information and capture the attention of an audience.
HTML Video :
In HTML, you can easily embed videos into your web pages using the <video> element. This allows you to provide multimedia content to your website visitors. Here’s how you can do it:
<!DOCTYPE html>
<html>
<head>
<title>HTML Video Example</title>
</head>
<body>
<h1>HTML Video Example</h1>
<!-- The <video> element -->
<video width="640" height="360" controls>
<!-- The video source -->
<source src="example-video.mp4" type="video/mp4">
Your browser does not support the video tag.
</video>
<p>This is a sample video embedded in an HTML document. You can click the play button to watch it.</p>
</body>
</html>Code language: HTML, XML (xml)Output :
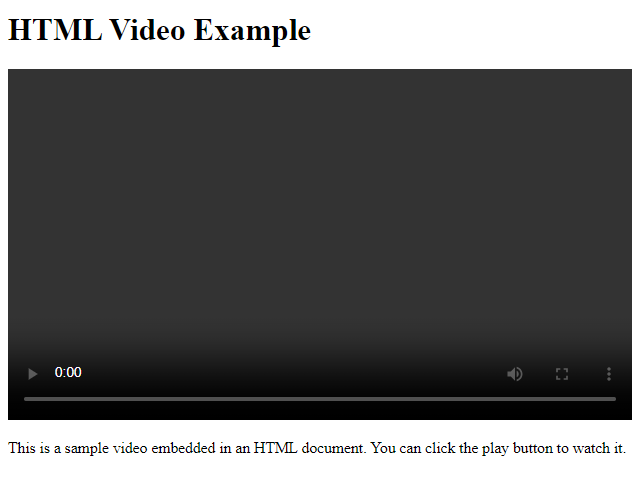
In this HTML example:
- We start with the usual document structure, including the
<!DOCTYPE html>declaration,<html>,<head>, and<body>sections. - Inside the
<body>, we have an<h1>element for the main heading. - The
<video>element is used to embed the video. It has attributes likewidthandheightto specify the dimensions of the video player, and thecontrolsattribute adds video controls like play, pause, and volume adjustment. - Within the
<video>element, we use the<source>element to specify the video file’s source (src) and type (type). In this example, it’s an MP4 video file. - If the user’s browser doesn’t support the video tag, the text “Your browser does not support the video tag.” will be displayed as a fallback.
- Finally, we include a paragraph (
<p>) to provide a brief description of the embedded video.
When you load this HTML document in a web browser, it will display the video player with the specified video file, allowing users to click the play button to watch the video.
HTML <video> Autoplay :
The autoplay attribute for the <video> element in HTML allows a video to start playing automatically when a web page loads. Here’s how you can use it:
<!DOCTYPE html>
<html>
<head>
    <title>HTML Video Autoplay Example</title>
</head>
<body>
    <h1>HTML Video Autoplay Example</h1>

    <!-- The <video> element with autoplay -->
    <video width="640" height="360" controls autoplay>
        <!-- The video source -->
        <source src="video (2160p).mp4" type="video/mp4">
        Your browser does not support the video tag.
    </video>

    <p>This is a sample video that will autoplay when the page loads.</p>
</body>
</html>
Code language: HTML, XML (xml)
Output :
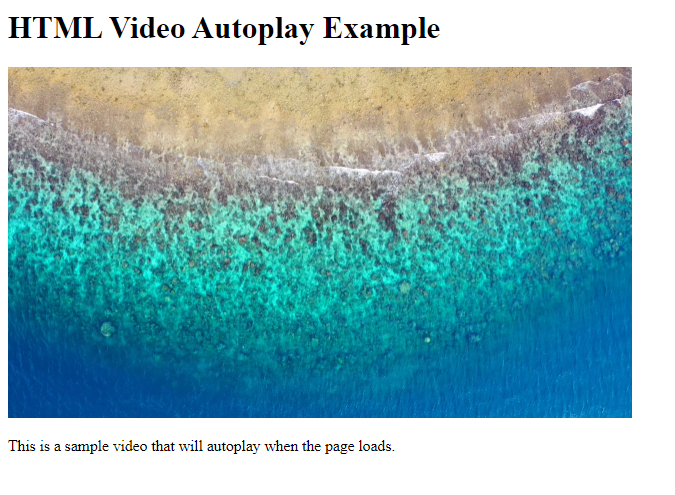
In this example:
- The
<video>element includes theautoplayattribute, which tells the browser to start playing the video as soon as the page is loaded. - Like before, we use the
<source>element to specify the video source (src) and type (type). - As a fallback, the text “Your browser does not support the video tag.” will be displayed if the browser doesn’t support HTML5 video.
With the autoplay attribute in place, when users open this HTML document in a web browser, the video will start playing automatically without requiring them to click the play button.
HTML Audio :
In HTML, you can easily embed audio content into your web pages using the <audio> element. This allows you to provide music, sound effects, or any other audio content to your website visitors. Here’s how you can do it:
<!DOCTYPE html>
<html>
<head>
    <title>HTML Audio Example</title>
</head>
<body>
    <h1>HTML Audio Example</h1>

    <!-- The <audio> element -->
    <audio controls>
        <!-- The audio source -->
        <source src="example-audio.mp3" type="audio/mpeg">
        Your browser does not support the audio tag.
    </audio>

    <p>This is a sample audio embedded in an HTML document. You can click the play button to listen to it.</p>
</body>
</html>Code language: HTML, XML (xml)
Output :
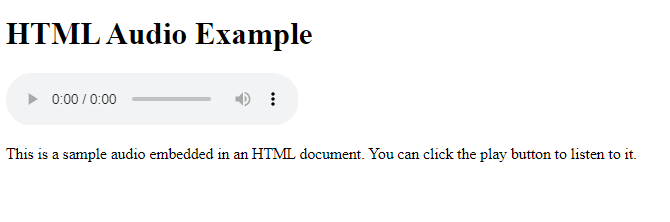
In this HTML example:
- We start with the usual document structure, including the
<!DOCTYPE html>declaration,<html>,<head>, and<body>sections. - Inside the
<body>, we have an<h1>element for the main heading. - The
<audio>element is used to embed the audio content. It has thecontrolsattribute, which adds audio controls like play, pause, and volume adjustment. - Within the
<audio>element, we use the<source>element to specify the audio file’s source (src) and type (type). In this example, it’s an MP3 audio file. - If the user’s browser doesn’t support the audio tag, the text “Your browser does not support the audio tag.” will be displayed as a fallback.
- Finally, we include a paragraph (
<p>) to provide a brief description of the embedded audio.
When you load this HTML document in a web browser, it will display the audio player with the specified audio file, allowing users to click the play button to listen to the audio.
HTML <audio> Autoplay :
In HTML, you can use the autoplay attribute with the <audio> element to make an audio file start playing automatically when a web page loads. Here’s an example:
<!DOCTYPE html>
<html>
<head>
    <title>HTML Audio Autoplay Example</title>
</head>
<body>
    <h1>HTML Audio Autoplay Example</h1>

    <!-- The <audio> element with autoplay -->
    <audio controls autoplay>
        <!-- The audio source -->
        <source src="example-audio.mp3" type="audio/mpeg">
        Your browser does not support the audio tag.
    </audio>

    <p>This is a sample audio that will autoplay when the page loads.</p>
</body>
</html>Code language: HTML, XML (xml)
In this example:
- The
<audio>element includes theautoplayattribute, which instructs the browser to start playing the audio as soon as the page is loaded. - Like before, we use the
<source>element to specify the audio source (src) and type (type). - As a fallback, the text “Your browser does not support the audio tag.” will be displayed if the browser doesn’t support HTML5 audio.
With the autoplay attribute in place, when users open this HTML document in a web browser, the audio will start playing automatically without requiring them to click the play button.
<object> Element :
In HTML, the <object> element is used to embed external resources, such as multimedia content or interactive elements, into a web page. It provides a way to include various types of content, including images, videos, applets, and more, from external sources or as plugins. Here’s an explanation of how the <object> element works:
- Embedding External Content: The primary purpose of the
<object>element is to embed content from external sources. This could be content hosted on a different website or resources like multimedia players or interactive applications. - Fallback Content: The
<object>element also allows you to provide fallback content. This means that if a user’s browser doesn’t support the embedded content or the content fails to load, the browser will display the fallback content instead. This ensures a graceful degradation of the user experience. - Attributes: The
<object>element can have several attributes, including:
data: Specifies the URL of the external resource to be embedded.type: Specifies the MIME type of the external resource.widthandheight: Define the dimensions of the embedded content.aria-labeland other accessibility attributes: Used to enhance the accessibility of the embedded content.
Here’s a simple example of how to use the <object> element to embed an external image into an HTML document:
<!DOCTYPE html>
<html>
<head>
<title>HTML Object Element Example</title>
</head>
<body>
<h1>Embedding an External Image Using <object></h1>
<object data="background.jpg" type="image/jpeg" width="300" height="200">
<!-- Fallback content -->
<img src="stripes.jpg" alt="Fallback Image">
</object>
<p>This is an example of embedding an external image using the <code><object></code> element.</p>
</body>
</html>
Code language: HTML, XML (xml)Output :
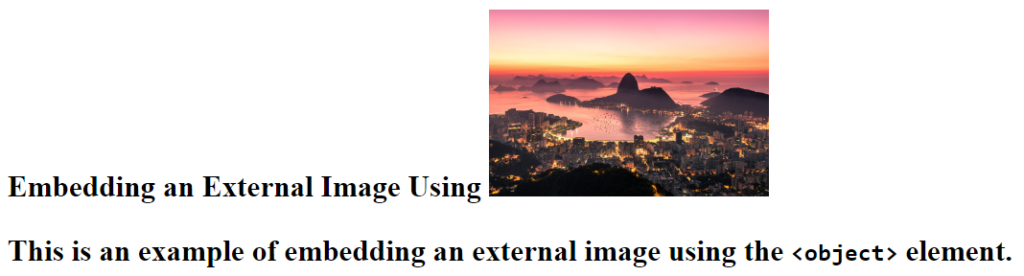
In this example:
- The
<object>element embeds an external image specified by thedataattribute. - The
typeattribute specifies the MIME type of the resource, which is “image/jpeg” for a JPEG image. - If the external image fails to load or is unsupported, the browser will display the fallback content, which is an
<img>element with a local image (“fallback-image.jpg”). - The
<p>element provides a description of the embedded content.
The <object> element is versatile and can be used for embedding a wide range of external content, making it a useful tool for enhancing web pages with various types of resources and plugins.
<embed> Element :
In HTML, the <embed> element is used to embed external content, typically multimedia elements like audio or video, directly into a web page. It provides a simple way to include external resources, such as media players or interactive applications, within the document. Here’s a brief explanation of the <embed> element:
- Embedding External Content: The primary purpose of the
<embed>element is to embed content from external sources. This content is usually a multimedia file like audio or video, but it can also include other types of plugins and interactive elements. - Simplicity:
<embed>is a straightforward way to include external content. You specify the source URL of the resource, and the browser handles the rest. This simplicity makes it easy to use for embedding various types of media. - Attributes: The
<embed>element can have several attributes, but the most important one is thesrcattribute, which specifies the URL of the external resource to be embedded. Other attributes can be used to control the dimensions, appearance, and behavior of the embedded content.
Here’s a simple example of how to use the <embed> element to embed an external audio file (an MP3) into an HTML document:
<!DOCTYPE html>
<html>
<head>
<title>HTML Embed Element Example</title>
</head>
<body>
<h1>Embedding an External Audio File Using <embed></h1>
<embed src="external-audio.mp3" type="audio/mpeg" width="300" height="30" controls>
<p>This is an example of embedding an external audio file using the <code><embed></code> element.</p>
</body>
</html>Code language: HTML, XML (xml)Output :
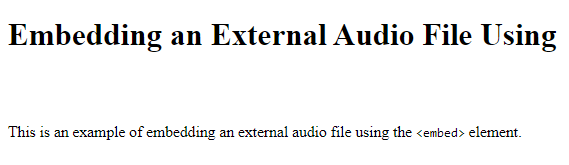
In this example:
- The
<embed>element is used to embed an external audio file specified by thesrcattribute. - The
typeattribute specifies the MIME type of the resource, which is “audio/mpeg” for an MP3 audio file. - The
widthandheightattributes define the dimensions of the embedded audio player. - The
controlsattribute adds audio controls like play, pause, and volume adjustment to the player. - The
<p>element provides a brief description of the embedded audio.
The <embed> element is a straightforward way to include external multimedia content directly in an HTML document, making it accessible and playable by website visitors.
